Set Up Exchange E-Mail on an Android Mobile Phone
You can set up e-mail using an Exchange account on an Android mobile phone.
To determine what version is running on your device, select Apps > Settings > About phone, you will be able to see the version number.
For Android 2.3 or later 2.x
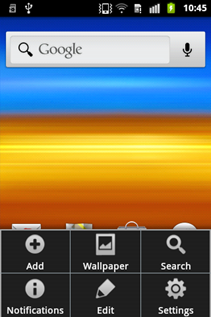
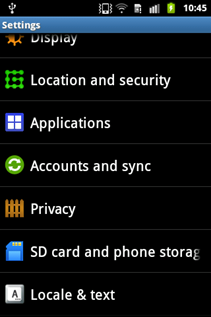
- Push the menu button, select Settings. Select Account and sync and tap Add account.
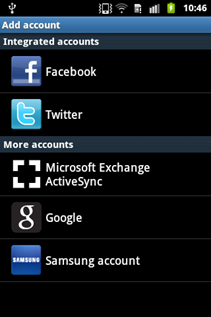
- Sélect Exchange account. This option may be named Exchange ActiveSync on some versions of Android.
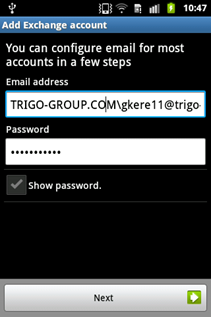
- Enter the following account information and select Next.
- Domain\Username: Type your full e-mail address in this textbox. If Domain and Username are separate text textboxes in your version of Android, leave the Domain textbox empty and type your full e-mail address in the Username textbox.
- Note: On some versions of Android, you need to use the domain\username format. For example, if your e-mail address is myname@TRIGO-group.com, type TRIGO-GROUP.COM\myname@trigo-group.com. Your username is your full e-mail address.
- Password: Use the password that you use to access your account.
- tap Next.
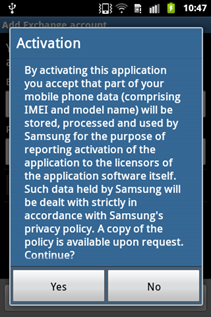
- When the Activation dialog appears tap Yes.
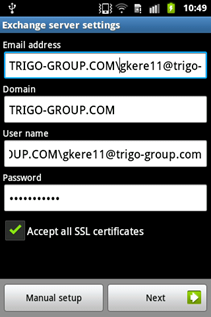
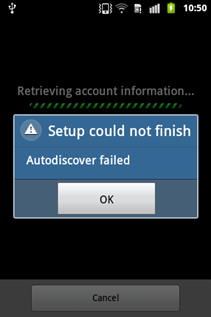
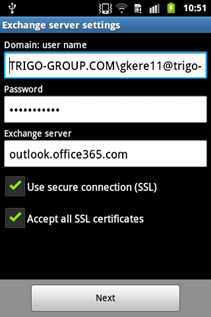
- When the Exchange server settings appears type TRIGO-GROUP.COM as Domain and copy your Email address to the User name textbox and tap Next. If Setup could not finish appears just tap OK. The Exchange server settings appears again. Type TRIGO-GROUP.COM\myname@trigo-group.com (may you should just delete the excess) in the Domain: user name and outlook.office365.com in the Exchange server textbox and tap Next.
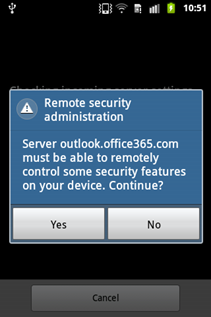
- If Remote security administration appears just tap Yes.
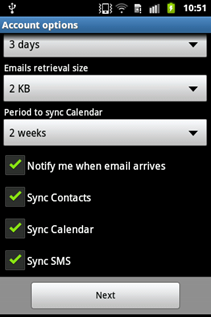
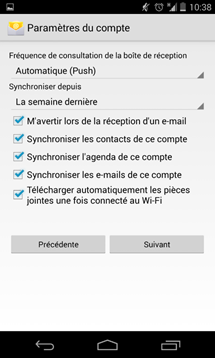
- As soon as your phone verifies the server settings, the Account Options screen displays. The options available depend on the version of Android on your device.
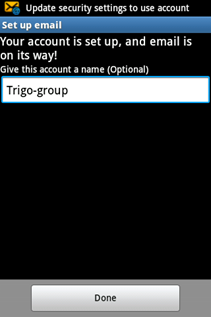
- Tap Next and then type a name for this account. Select Done.
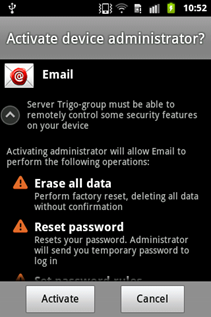
- If Activate device administrator? dialog appears, tap Activate.If only a notification appears after finishing the setup, pull down the Notification center and tap the notification to get the dialog.
Tip: You may need to wait ten-to-fifteen minutes after you set up your account before you can send or receive e-mail.
For Android 4.0 or later
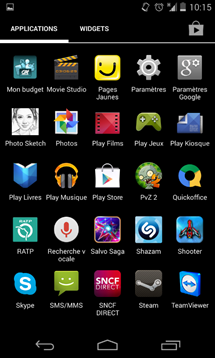
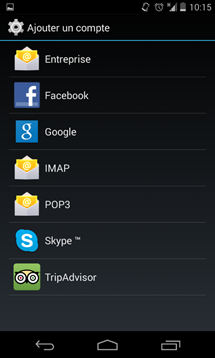
- From the Applications select Settings, roll down to Accounts tap Add account and select Corporate.
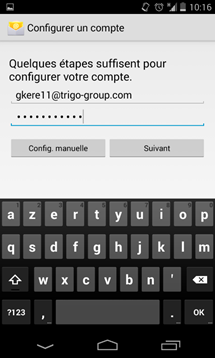
- In the Account setup dialog type in the upper textbox your domain and your username. For example, if your e-mail address is myname@TRIGO-group.com, type TRIGO-GROUP.COM\myname@trigo-group.com. In the textbox beneath type your password and tap Next.
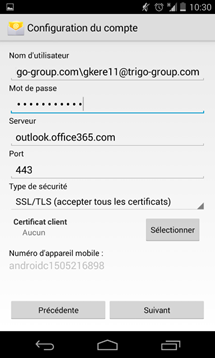
- When the Account type dialog appears tap Exchange. After a while a more detailed Account type dialog appears. Type outlook.office365.com in the Server textbox. Roll down Security type by tapping it, choose SSL/TLS (Accept all certificates) and tap Next.
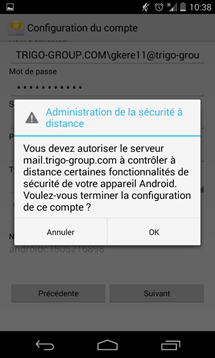
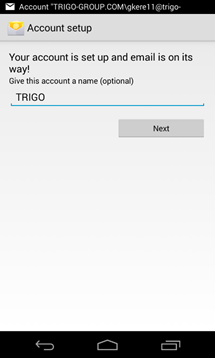
- When Remote security administration dialog appears, tap OK. In the Account setting dialog tap Next, and then type a name for your account and tap Next again. Your account is ready to use.
Download User Guide
Back